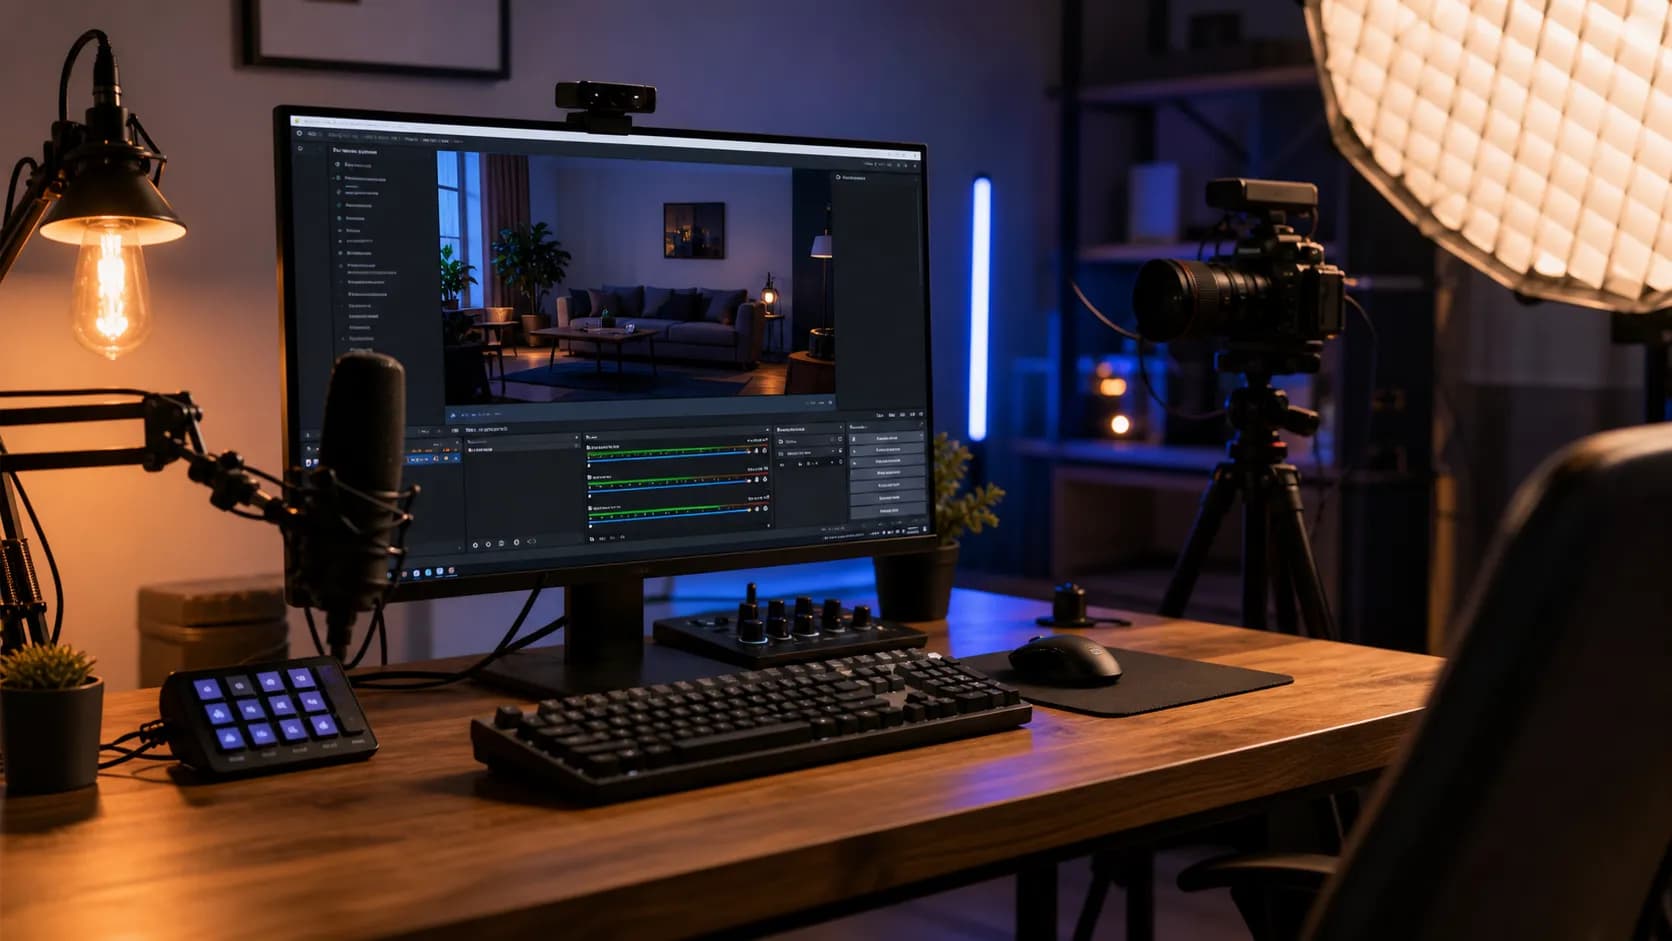
There are two kinds of first YouTube live stream: the one where the creator spends forty minutes fixing echo, discovering the camera is pointed at the ceiling, and apologizing to four viewers — and the one where everything works, because the setup happened before the stream started. The difference is not talent or budget. It is sequence.
A live stream is five systems running at the same time: your connection, your audio, your lighting, your scene layout, and your encoder. Any one can fail quietly on its own; several failing at once is felt live, with an audience. The fix is a checklist you run in the same order every time, so nothing gets discovered during the broadcast.
This is that checklist: what to verify before you go live, which software fits each situation, a minute-by-minute run-of-show for stream one, and what to do in the half hour after you end.
Quick Answer
A working YouTube live setup comes down to five things: a wired connection with upload headroom, a dedicated microphone you monitor with headphones, light from in front of you, two or three pre-built scenes, and encoder settings of 1080p30 at a bitrate your upload can sustain comfortably. Run the checklist 60 minutes before you start, do a private test stream, then open with five minutes of structured talking and moderate chat while you are live.
Key Takeaways
- Sequence beats equipment. Running the same checklist in the same order 60 minutes out removes almost every first-stream surprise.
- Wired always beats wireless for the machine that streams. WiFi drops are the usual reason a stream stutters, freezes, and dies.
- Audio is the line viewers will not forgive. A mediocre picture with clean speech holds an audience; a pretty picture with echo loses it.
- Keep stream one short: 30-45 minutes. A tight half hour you finish well beats two hours you drag through.
- The first five minutes decide retention. Greet, state the topic, set the agenda, ask one easy question — then repeat the intro every 10-15 minutes for latecomers.
---
The pre-stream checklist
Everything here happens before a single viewer sees you. Work top to bottom; each block is a system that fails on its own.
Connection
- Stream over Ethernet, not WiFi. Wireless is fine for watching video and unreliable for sending it for minutes at a time without a blip.
- Test from the streaming machine, on the wired line, right before you start. Rule of thumb: set the encoder at about half of what the speed test reports as sustained, so a busy household never pushes you into drops.
- Clear the runway. Pause cloud backups, large downloads, system updates, and video calls during the stream — and have a phone hotspot ready as a fallback you already know how to switch to.
Audio
- Use a dedicated microphone. A USB mic on a boom arm or a clip-on lavalier beats every built-in webcam mic; our USB microphone guide covers the desk-friendly options.
- Bring it close. Six to eight inches for a desk mic, closer for a lav. Most bad stream audio is a distance problem before it is a gear problem.
- Monitor with wired headphones, not speakers — speakers cause echo the moment your own voice returns to the mic.
- Set levels at your normal speaking volume, leaving headroom so an excited moment does not clip, then silence your phone and desktop notifications.
Lighting
- Key light in front of you, slightly above eye line, facing you. The classic mistake is sitting with a window or bright wall behind you, which silhouettes your face.
- Diffuse what you have: a softbox, a ring light, or a lamp bounced off a wall all beat a bare ceiling bulb. Lighting is the cheapest upgrade in this checklist — our equipment checklist lays out a full budget setup.
Scene layout
Build your scenes once, before the stream, so you are switching rather than dragging boxes while people watch:
- Starting soon — a static card with the topic and your handle; you go live into this scene and buy two minutes for viewers to arrive.
- Main camera — your talking scene, with the topic in a lower third.
- Screen share / demo — for the part where you show something.
- Be right back — for water and two-minute pauses.
- Ending — the wrap scene with your next-stream line and links.
Three scenes (starting, main, ending) will do for stream one. The principle is what matters: nothing is built during the broadcast.
Encoder settings
For a first stream, keep the technical settings boring and dependable:
| Setting | First-stream value | Why |
|---|---|---|
| Resolution and frame rate | 1080p at 30fps | Clean on talking-head streams; less bandwidth and machine load than 60fps |
| Keyframe interval | 2 seconds | What YouTube's live ingest expects — "auto" is a common cause of ingest warnings |
| Video bitrate | About half your measured sustained upload | Headroom absorbs household traffic without drops |
| Encoder | Hardware if your machine offers it, otherwise the default | Keeps your CPU free for scenes |
| Audio bitrate | Standard streaming default | Speech does not need more |
Want the click-by-click version? Our OBS Studio setup guide walks through sources, scenes, and the YouTube ingest settings in order.
---
Choosing your streaming software
| Option | Best for | Strengths | Trade-offs |
|---|---|---|---|
| OBS Studio | Anyone who wants scenes, overlays, and screen capture on a computer | Free, cross-platform, full control over scenes and encoder | You configure everything yourself |
| YouTube's own mobile app | Streaming today, from a phone, with no setup | Zero configuration, camera already works | One camera, limited scenes, audio tied to the phone |
| All-in-one streamer apps | Creators who want scenes and on-screen alerts in one package | Templates and alert boxes built in | Heavier on your machine; some features sit behind paid plans |
| Switching software for multi-camera | Later, when you add a second camera or a hardware feed | Broadcast-style switching | Cost and complexity you do not need for stream one |
| Multistream services | Broadcasting to YouTube and other platforms at once | One encoder session, several destinations | Another service between you and YouTube |
For a first stream, pick either OBS on a computer or the mobile app on a phone — and only that. Add tools after you have ten streams behind you.
---
The first-stream run-of-show
This is the schedule that turns a nervous first broadcast into a repeatable event. Times are relative to your planned start.
| Time | Action | Why it sits here |
|---|---|---|
| T-60 min | Connection and gear check, speed test, notifications off | Fixes take time |
| T-45 min | Open the encoder, load scenes, apply settings | Surprises show up now, not at T-3 |
| T-30 min | Frame camera, set light, set audio levels, monitor with headphones | What viewers notice first |
| T-20 min | Private test stream for five minutes, watch on your phone | See what the audience sees |
| T-10 min | Title, description, category, thumbnail, chat settings | Your stream page |
| T-5 min | Warm up your voice, water within reach, phone face down | Settle before camera |
| T-0 | Go live into the "starting soon" scene | Viewers arrive early |
| +0 to +5 min | The first five minutes structure (below) | Sets tone, gives chat a prompt |
| +5 to end | Content beats with engagement loops | Topic, demo, questions, repeat |
| Last 5 min | Wrap: recap, call to action, next stream announced | Streams that stop abruptly feel abandoned |
| +0 to +15 min | End the stream, fix the replay's details | The replay is a permanent video |
| +15 to +45 min | Reply to comments, share a clip, schedule the next | Momentum lives here |
| Next 24 hours | Review retention, peak viewers, chat activity | What to change for stream two |
Step 1: Check the connection and lay out the gear (T-60)
Cable in, speed test run, backups paused, mic and headphones on the desk, water within reach — anything you would otherwise stand up and fetch mid-stream.
Step 2: Configure the encoder (T-45)
Load your scenes and apply the settings from the table above. If an update is waiting, this is when you find out — updates mid-setup are annoying; updates mid-stream are fatal.
Step 3: Frame the camera, set the light, and tune the audio (T-30)
Camera at eye level, light on your face, mic at six to eight inches, levels set with headphones on at your normal speaking volume. Record thirty seconds and listen back for echo and fan noise.
Step 4: Run a private test stream (T-20)
Private or unlisted, five minutes, watched on your phone: sharp picture, lips in sync, clean scene switches, stable stream health. This single step prevents most first-stream disasters.
Step 5: Set the stream title, details, and moderation (T-10)
Plain title, description with the payoff, category, thumbnail, and chat set to hold flagged messages for review. Invite a moderator now if you have one — reading chat while talking is the hardest part of streaming.
Step 6: Open with a structured first five minutes (T-0)
Live into your starting scene, 60-90 seconds for viewers to arrive, then the opening structure below.
Step 7: Run engagement beats while live
Every 10-15 minutes: restate the topic, ask a question, answer two or three messages by name, return to content.
Step 8: Follow up after the stream
Wrap properly, fix the replay details, review what happened, share a clip, schedule the next one.
---
Engagement mechanics that keep a stream alive
Chat is the whole reason to stream rather than upload. It also goes quiet, on schedule, in every early stream. Mechanisms beat improvising:
- Pin one question as the stream's prompt. A pinned comment at the top gives every late arrival something immediate to answer. One question, answerable in a few words.
- Ask for votes, not essays. "Type 1 if you stream from a phone, 2 if from a computer" is a poll with zero setup. If your account exposes proper poll controls, use them; keyword voting does the same job.
- Spotlight comments. Reading a good comment aloud rewards whoever wrote it and shows the rest of chat that you are listening. Pull a featured question at random with the Comment Picker so regulars get a fair shot.
- Set moderation before you need it. Hold flagged messages for review, keep slow mode ready, and give a trusted viewer moderator rights — moderation enabled after a spam wave arrived too late.
- Give chat a job at fixed points. Ask for next stream's topic, run a yes/no check on the point you just made, or let chat vote between two demo options. A stream with a standing task never goes fully silent.
The first five minutes
Structure the opening so a viewer who joins cold knows exactly what they are watching:
- 0:00-0:30 — Greet and state the topic. "Welcome in — tonight we are setting up a streaming rig from scratch." Assume nobody was there a minute ago.
- 0:30-2:00 — Set the agenda and the clock. What you will cover, in what order, how long it takes. Viewers stay when they know the payoff.
- 2:00-3:30 — Housekeeping. The subscribe ask, how chat works, a note that moderated chat stays civil — early, so it never interrupts the middle.
- 3:30-5:00 — First low-friction question to chat. Answer people by name. This is when the stream stops being a broadcast.
Then repeat a compressed version — topic, agenda, one question — every 10 to 15 minutes. Live audiences do not arrive together; much of your peak audience joins in the second half and never saw your opening.
---
Post-stream follow-up (the first 30 minutes)
The stream ends; the video does not.
- Wrap on purpose. Recap the topic in two sentences, state the call to action, and name the next stream before you end. Never let a stream trail off into silence.
- Fix the replay. It is a normal YouTube video now: update the title, description, and thumbnail if the live versions were placeholders, and check that the opening still makes sense without the "starting soon" card. For a production stream, link the OBS setup guide in the description.
- Review three numbers, not thirty: peak viewers, average watch time, and when chat was most active. Those three tell you what to repeat.
- Share a clip. Cut the single best 20-45 second moment and post it as a Short pointing to the full replay.
- Schedule the next stream while the lessons are fresh — the Content Calendar Generator will hold the slot, and our best time to publish guide helps you pick the hour.
- Reply to the comments you did not get to live. Early streams live or die on whether the handful of people who showed up felt seen.
---
Five ways first streams go wrong
- Streaming over WiFi. It feels fine until the moment it is not, with no recovery mid-sentence.
- No test stream. Every problem you find at T-20 costs nothing; the same problem at T-0 costs the audience you just attracted.
- No structure. "I'll just talk and see where it goes" is how streams end at the 47-minute mark with four peak viewers. Script your first five minutes.
- Talking to an empty chat. The first ten viewers are the whole game — answer them by name and re-introduce the topic for everyone after.
- Going too long. A tight 30-45 minutes that ends on a high note builds the habit of coming back; two hours of winding down does the opposite.
Pick stream topics the way you pick video topics — with search demand behind them. The Video Ideas Generator works for recurring segments too, and our streaming webcam guide covers the camera side once you decide to move past your phone.
Run the checklist in the same order, start at T-60, and stream one becomes stream two without a crisis in between.
Related guides on this topic: How to Get More Views on YouTube · How to Start a YouTube Channel · YouTube Channel Name Ideas · Get 1,000 Subscribers · Channel Audit Checklist.
Topics
❓Frequently Asked Questions
What internet speed do I need for a YouTube live stream?
Enough sustained upload to carry your chosen bitrate with real headroom — a practical rule of thumb is to set your encoder at about half of what a speed test reports on the same wired connection you will stream from. Test from that machine, over Ethernet, right before you plan to go live, and pause cloud backups and large downloads during the stream.
Do I need OBS for my first YouTube stream?
No. OBS Studio is the standard choice when you want scenes, overlays, and screen capture on a computer, but YouTube's own mobile app streams from a phone with no software to configure. Pick one for your first stream — the setup checklist in this guide applies to both — and add complexity only after you have several streams behind you.
What resolution and frame rate should my first stream use?
1080p at 30fps. It needs less bandwidth and less machine headroom than 60fps, and for a talking-head or tutorial stream it looks perfectly clean. Pair it with a 2-second keyframe interval — what YouTube's live ingest expects — and a bitrate sized to about half your measured sustained upload speed.
How long should my first live stream be?
30 to 45 minutes. A short stream you finish with energy builds your confidence and gives viewers a complete experience; a two-hour stream you drag through teaches everyone, including you, that your streams are long and thin. Lengthen the format only once the checklist runs on muscle memory.
How do I get people to show up to my first stream?
Announce it in your regular videos and community posts, pick a time your audience is already awake (see our best time to publish guide), and tell one niche community where you participate. Realistically, early streams are small — treat the handful of live viewers as the whole event, answer them by name, and let the replay carry the reach afterwards.
Can I stream straight from my phone?
Yes — the YouTube mobile app handles the full flow with no external software, which makes it the fastest path to a first stream. You get one camera and limited scene switching, so light your face, use a clip-on microphone, and hold landscape. Move to a computer with scenes and an encoder when you want screen sharing or overlays.
What happens if my stream disconnects?
The encoder typically attempts to reconnect and the stream resumes as long as the interruption is short; a longer outage ends the broadcast and the replay keeps whatever was captured. The prevention is structural: wired connection, bitrate sized with headroom, backups paused, and a phone hotspot ready as a fallback path.
Who should moderate my chat?
Ideally one trusted person who is not you. Moderating while presenting is the hardest split in live production. Enable holding potentially inappropriate messages for review, keep slow mode ready, and invite a friend as a moderator before you go live — if nobody is available, keep chat on the safer defaults and do not hesitate to slow it down mid-stream.
Free tools for this topic
Apply what you just read with free creator tools — no signup required.