If you are opening OBS Studio for the first time, the whole thing can feel like walking into a cockpit. Scenes, sources, encoders, bitrates, audio tracks, hotkeys, docks - it is a lot. The good news is that a solid obs studio youtube setup does not need to be complicated.
For most creators, OBS only has three jobs: capture the right picture, record clean sound, and send YouTube a file or stream that does not fall apart. Once those pieces are set, you can forget the technical noise and get back to making the actual video.
This guide is written for YouTube creators, not broadcast engineers. We will set up OBS Studio for tutorials, gaming videos, talking-head recordings, screen recordings, podcasts, and livestreams. I will give you the settings I would use on a real creator desk, plus the mistakes that quietly ruin quality.
Important
Quick answer: The best OBS Studio YouTube setup for most creators is 1920x1080 canvas, 60 FPS for gaming or motion-heavy videos, 30 FPS for talking-head tutorials, H.264 or hardware encoding when available, 12-20 Mbps recording bitrate for 1080p, clean audio peaking around -12 dB to -6 dB, and separate scenes for camera, screen share, intro, and ending.
---
Before You Touch OBS, Decide What You Are Making
OBS settings are not universal. A gaming creator, a finance educator, and a software tutorial channel do not need the same setup.
Use this quick starting point:
| YouTube format | Resolution | FPS | Best OBS focus |
|---|---|---|---|
| Talking-head video | 1920x1080 | 30 FPS | Lighting, audio, camera framing |
| Screen tutorial | 1920x1080 | 30 FPS | Sharp text, clean cursor movement |
| Gaming video | 1920x1080 or 2560x1440 | 60 FPS | Smooth motion, GPU encoder |
| Podcast clip | 1920x1080 | 30 FPS | Audio levels, camera switching |
| Livestream | 1920x1080 | 30 or 60 FPS | Stable bitrate and upload speed |
If your channel is still new, do not chase 4K immediately. A clean 1080p video with good audio will beat a messy 4K file almost every time. Once the content is working, you can upgrade resolution later.
If you are still planning the video idea itself, use the YouTube Video Ideas Generator before you record. OBS can make the video look better, but it cannot save a weak topic.
---
Step 1: Download OBS Studio Safely
Download OBS Studio from the official OBS Project website, not from random software mirrors. That matters because creators often install the wrong bundled version and end up with extra software they never wanted.
After installing, open OBS and skip the pressure to perfect everything immediately. The Auto-Configuration Wizard is fine for a first pass, but I recommend manually checking the settings below so you actually know what the software is doing.
Useful official references:
- OBS Studio official site
- OBS Studio documentation
- YouTube live encoder settings
- YouTube upload encoding recommendations
---
Step 2: Create Your Core OBS Scenes
Think of scenes as camera angles or layouts. A clean YouTube setup usually needs fewer scenes than people think.
Start with these four:
- Main Camera - your face camera, microphone, and any background graphics.
- Screen Share - your monitor capture for tutorials, walkthroughs, or software demos.
- Camera + Screen - screen share with your camera in a corner.
- Starting Soon or Intro - useful for livestreams and polished recordings.
For each scene, add sources from the Sources panel. Common sources include Video Capture Device, Display Capture, Window Capture, Audio Input Capture, Image, Browser, and Text.
My rule is simple: use Window Capture when possible and Display Capture only when you need the entire monitor. Window Capture is cleaner for tutorials because it avoids accidentally showing private tabs, notifications, or desktop clutter.
If you make tutorials, pair this setup with a strong title before publishing. The YouTube Title Generator can help turn a plain title like "OBS settings" into something viewers actually search for.
---
Step 3: Set the Right Canvas and Output Resolution
Go to Settings > Video.
For most YouTube channels:
- Base Canvas Resolution: 1920x1080
- Output Scaled Resolution: 1920x1080
- Downscale Filter: Lanczos
- Common FPS Values: 30 or 60
Use 30 FPS if you record tutorials, commentary, education, interviews, or talking-head videos. Use 60 FPS if you record gameplay, sports analysis, fast software demos, or anything with a lot of motion.
For global audiences, 1080p is still the safest default. Viewers in the United States, India, Brazil, the Philippines, Indonesia, Nigeria, the UK, and Canada all have different device and bandwidth patterns. A sharp 1080p upload loads well across more countries and still looks professional on mobile.
---
Step 4: Use Recording Settings That Survive YouTube Compression
Go to Settings > Output and switch Output Mode to Advanced.
For recording YouTube videos, use this baseline:
| Setting | Recommended value |
|---|---|
| Type | Standard |
| Recording Format | MKV |
| Encoder | Hardware encoder if available, otherwise x264 |
| Rate Control | CQP or CRF for recording, CBR for streaming |
| CQ Level | 16-22, lower number means higher quality |
| Keyframe Interval | 2 seconds |
| Audio Track | Track 1, or separate tracks if editing later |
I prefer recording in MKV because it is safer if OBS or your computer crashes. After recording, use File > Remux Recordings to convert the file to MP4 for editing. That one habit can save a creator from losing a full recording session.
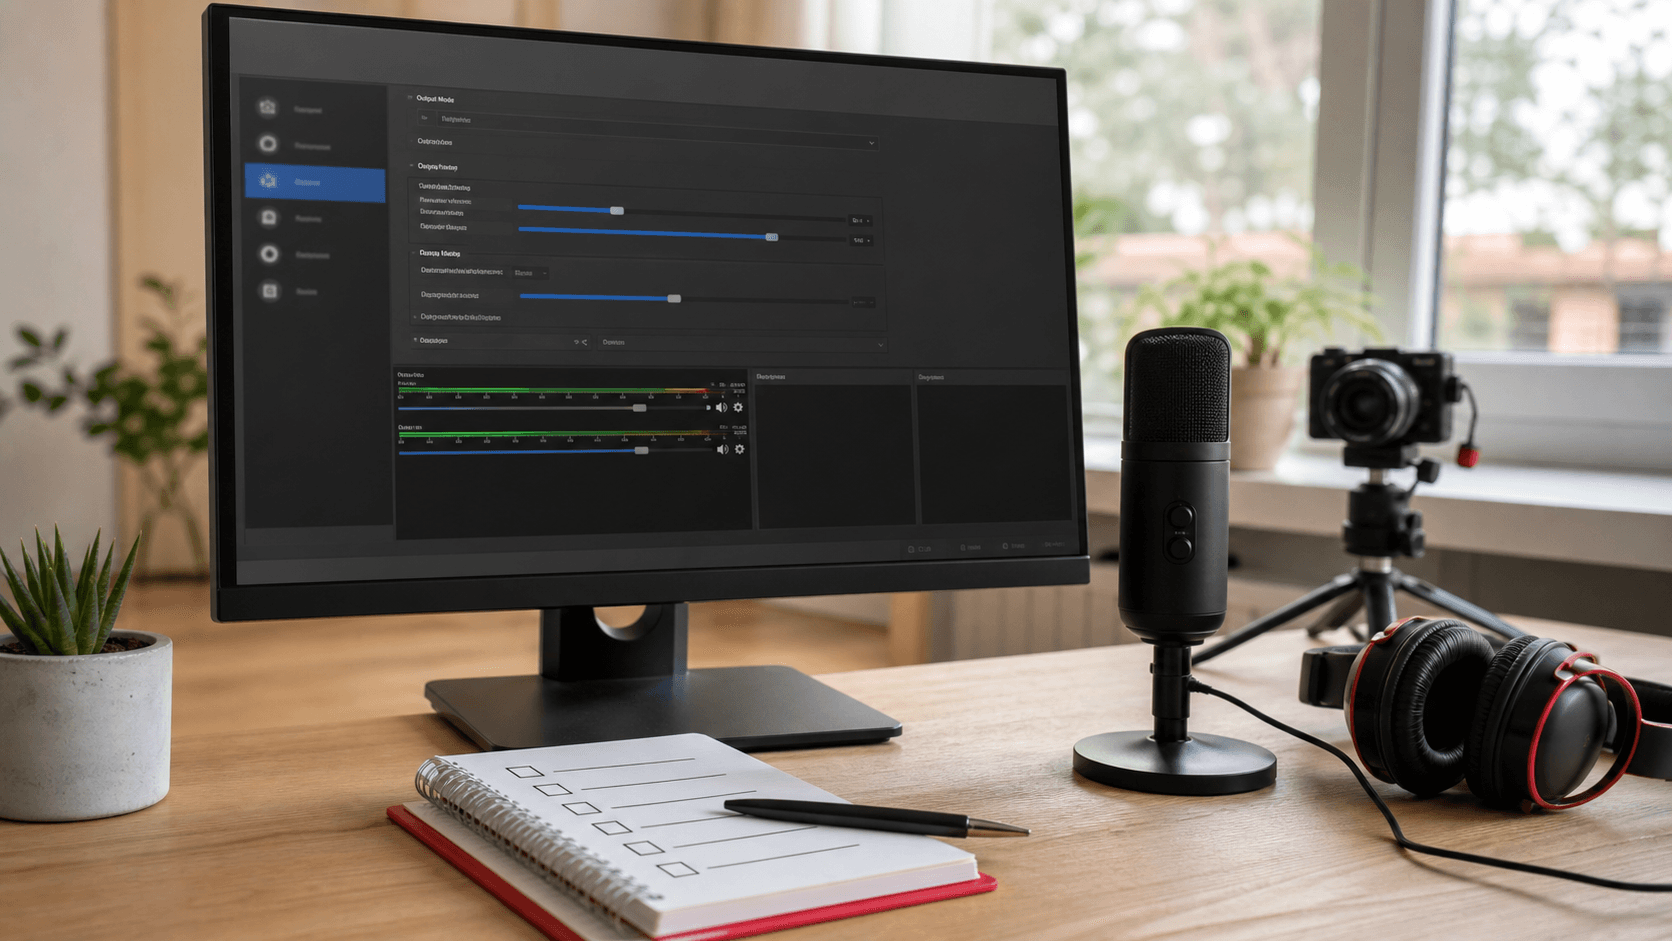
Realistic creator desk showing an OBS-style settings screen, microphone, headphones, camera, and checklist for YouTube recording setup
*A simple recording checklist beats guessing. Confirm resolution, frame rate, encoder, audio levels, and storage location before every YouTube session.*
---
Step 5: Recommended OBS Bitrate for YouTube
For local recording, bitrate can be higher than livestreaming because you are saving to your own drive, not pushing through your upload speed.
Good recording targets:
| Recording quality | 30 FPS | 60 FPS |
|---|---|---|
| 1080p | 10-15 Mbps | 12-20 Mbps |
| 1440p | 20-30 Mbps | 25-40 Mbps |
| 4K | 45-60 Mbps | 60-85 Mbps |
For livestreaming, follow YouTube's live encoder guidance and stay inside what your upload speed can handle. If your internet upload is 10 Mbps, do not stream at 9 Mbps. Leave room for spikes. If the connection is tight, drop to a lower resolution such as 720p instead of forcing a 1080p stream that drops frames every few minutes.
If you want to estimate whether a tutorial or livestream topic is worth the work, check the revenue side with the YouTube Earnings Calculator. OBS setup is production work, and production time should support your channel goals.
---
Step 6: Fix Your Audio Before You Fix Your Camera
Bad audio ruins good video. In OBS, your microphone meter should usually peak around -12 dB to -6 dB while you speak normally. If it hits red, you are clipping. If it barely moves, viewers will turn up the volume and hear room noise.
Add these filters to your microphone source:
- Noise Suppression - removes fan noise and room hum.
- Noise Gate - closes the mic when you stop speaking.
- Compressor - keeps loud and quiet parts more even.
- Limiter - stops sudden peaks from clipping.
Do not overdo the filters. A heavily processed voice can sound thin and tiring. Record a 30-second test, listen with headphones, and adjust one filter at a time.
If your mic is the weak link, read our Best Wireless Lavalier Microphones for YouTube guide before buying anything. A small mic upgrade often improves retention more than a new lens.
---
Step 7: Camera Setup for a Cleaner YouTube Look
Your camera source should look intentional, not accidental. Add your webcam or camera under Video Capture Device, then check:
- Set resolution manually instead of leaving it on device default.
- Match FPS to your OBS canvas.
- Turn off auto exposure if it keeps pulsing.
- Lock white balance when possible.
- Put your key light in front of you, not behind you.
If you use a webcam, avoid sitting in a dark room and expecting software to fix it. OBS can adjust color, crop, and framing, but it cannot invent clean light from a noisy image.
For camera buying advice, the Best Webcams for YouTube Streaming article pairs naturally with this OBS setup guide.
---
Step 8: Build a Simple Recording Checklist
Before every recording, run this checklist:
- Is the correct microphone selected?
- Are audio levels peaking between -12 dB and -6 dB?
- Is the correct scene active?
- Is the camera framed properly?
- Is the recording path set to a drive with enough space?
- Are notifications turned off?
- Did you record a 10-second test clip?
- Is your YouTube title or topic already chosen?
That last point matters. Many creators record first and think later. A better workflow is topic, title angle, recording, edit, thumbnail, description, upload.
For the upload package, use these after recording:
- YouTube Description Generator
- YouTube Tag Generator
- YouTube Hashtag Generator
- AI Thumbnail Prompt Generator
---
Best OBS Studio YouTube Setup for Beginners
If you want the simplest safe setup, use this:
| OBS section | Beginner setting |
|---|---|
| Canvas | 1920x1080 |
| FPS | 30 for tutorials, 60 for gaming |
| Recording format | MKV |
| Encoder | NVENC, QuickSync, AMF, Apple VT, or x264 |
| Recording quality | CQP 18-22 or high-quality preset |
| Audio sample rate | 48 kHz |
| Mic peak | -12 dB to -6 dB |
| Scene count | 3-5 scenes |
This setup works for creators in almost every country because it balances quality, file size, and editing speed. It is also easier to troubleshoot than a complicated 4K workflow.
---
Common OBS Mistakes That Hurt YouTube Quality
Here are the problems I see most often:
Recording in MP4 only. If OBS crashes, the file can become unusable. Record in MKV, then remux to MP4.
Using display capture for everything. It works, but it can expose private information. Use Window Capture for focused tutorials.
Setting bitrate too low for recording. YouTube compresses uploads again. Give it a clean source file.
Letting the microphone clip. Viewers forgive a small camera mistake faster than painful audio.
Recording before testing. Always make a 10-second test clip. Always.
Building too many scenes. A beginner does not need 20 scenes. Keep the system boring and reliable.
---
Backlink Plan for This OBS Guide
You asked for backlinks, so here is the honest version: backlinks cannot be created inside the codebase. They have to be earned from other websites. But this article is built to support outreach.
Use these backlink angles:
- Creator gear blogs: Pitch this article as the missing companion to webcam and microphone reviews. A gear review tells people what to buy; this guide shows them how to use it in OBS.
- YouTube tutorial roundups: Submit it to creator-resource pages that list free streaming and recording guides.
- Microphone and webcam communities: Share the audio filter and camera setup sections when people ask why their gear still looks or sounds bad.
- Software education sites: Offer a short guest post on "the OBS checklist every YouTube beginner should use" and link back to this full guide.
- Your own linkable asset: Turn the checklist section into a downloadable PDF later. Resource pages link to checklists more often than generic blog posts.
For internal link equity, this post already connects to your title, description, tag, hashtag, thumbnail prompt, earnings calculator, webcam, microphone, and video ideas pages.
---
Final OBS Setup Workflow
Here is the clean workflow I recommend:
- Pick the YouTube topic.
- Draft the title and angle.
- Open OBS and choose the right scene.
- Record a 10-second test.
- Check audio, framing, and screen capture.
- Record the full video.
- Remux MKV to MP4.
- Edit the video.
- Create the thumbnail and metadata.
- Upload, publish, and monitor retention.
That is it. A great obs studio youtube setup is not about having the most complicated dashboard. It is about removing friction so you can record consistently. Keep the settings stable, keep your scenes simple, and spend your best energy on the video itself.
Topics
❓Frequently Asked Questions
What is the best OBS Studio YouTube setup for beginners?
The best beginner OBS Studio YouTube setup is a 1920x1080 canvas, 30 FPS for tutorials or 60 FPS for gaming, MKV recording format, hardware encoding when available, clean microphone levels around -12 dB to -6 dB, and three to five simple scenes for camera, screen share, and intro or ending screens.
Should I record OBS videos in MP4 or MKV for YouTube?
Record in MKV first because it is safer if OBS or your computer crashes. After recording, use OBS Studio's Remux Recordings feature to convert the file to MP4 for editing and uploading.
What bitrate should I use in OBS for YouTube recording?
For 1080p YouTube recording, 10-15 Mbps works well at 30 FPS and 12-20 Mbps works well at 60 FPS. Higher resolutions such as 1440p or 4K need more bitrate, but beginners should prioritize stable 1080p quality first.
Is OBS Studio good for YouTube livestreaming?
Yes. OBS Studio is one of the most reliable free tools for YouTube livestreaming. Use CBR rate control, a two-second keyframe interval, a bitrate your upload speed can handle, and a simple scene setup to avoid dropped frames.
Do I need a powerful computer for OBS Studio?
You do not need a high-end computer for basic 1080p recording, but gaming, 60 FPS capture, multiple cameras, and 4K recording require more CPU or GPU power. Hardware encoding such as NVENC, QuickSync, AMF, or Apple VT can reduce the load.